Showing posts with label Festivals. Show all posts

Sunday, February 25, 2018

Akki tambittu (sweet treat with rice) - a very simple offering on Shivaratri

:-), ok even I have to flinch at my own (un)timeliness about blogging. It has been over 2 weeks since Shivaratri and I am finally waking up from my slumber to post about what I made. While debating whether to post this recipe here today or not, I told myself that it would be a wonderful recipe for next year's Shivaratri, you can all just search on the blog and make it. Also this is such an easy peasy recipe that you can make it anytime not waiting for the festival to come around next time. Unlike many Indian desserts, there is no syrup and consistency you need watch hawk eyed making this a totally beginner recipe.
Shivaratri is a festival usually in early February that almost brings with it the warm winds of summer in India. Though there is no formal distinction of Spring & Summer in India, the early months (late Feb - Apr) are mild and very spring like. The vast country it is, the seasons differ in their intensity from region to region but in my southern home town, these were always the pleasant months. Everything around you would start sprouting new leaves and the tender green mangoes would start to make a show. The anticipation of the upcoming summer holidays and the anxiety of final exam series always competed with each other.

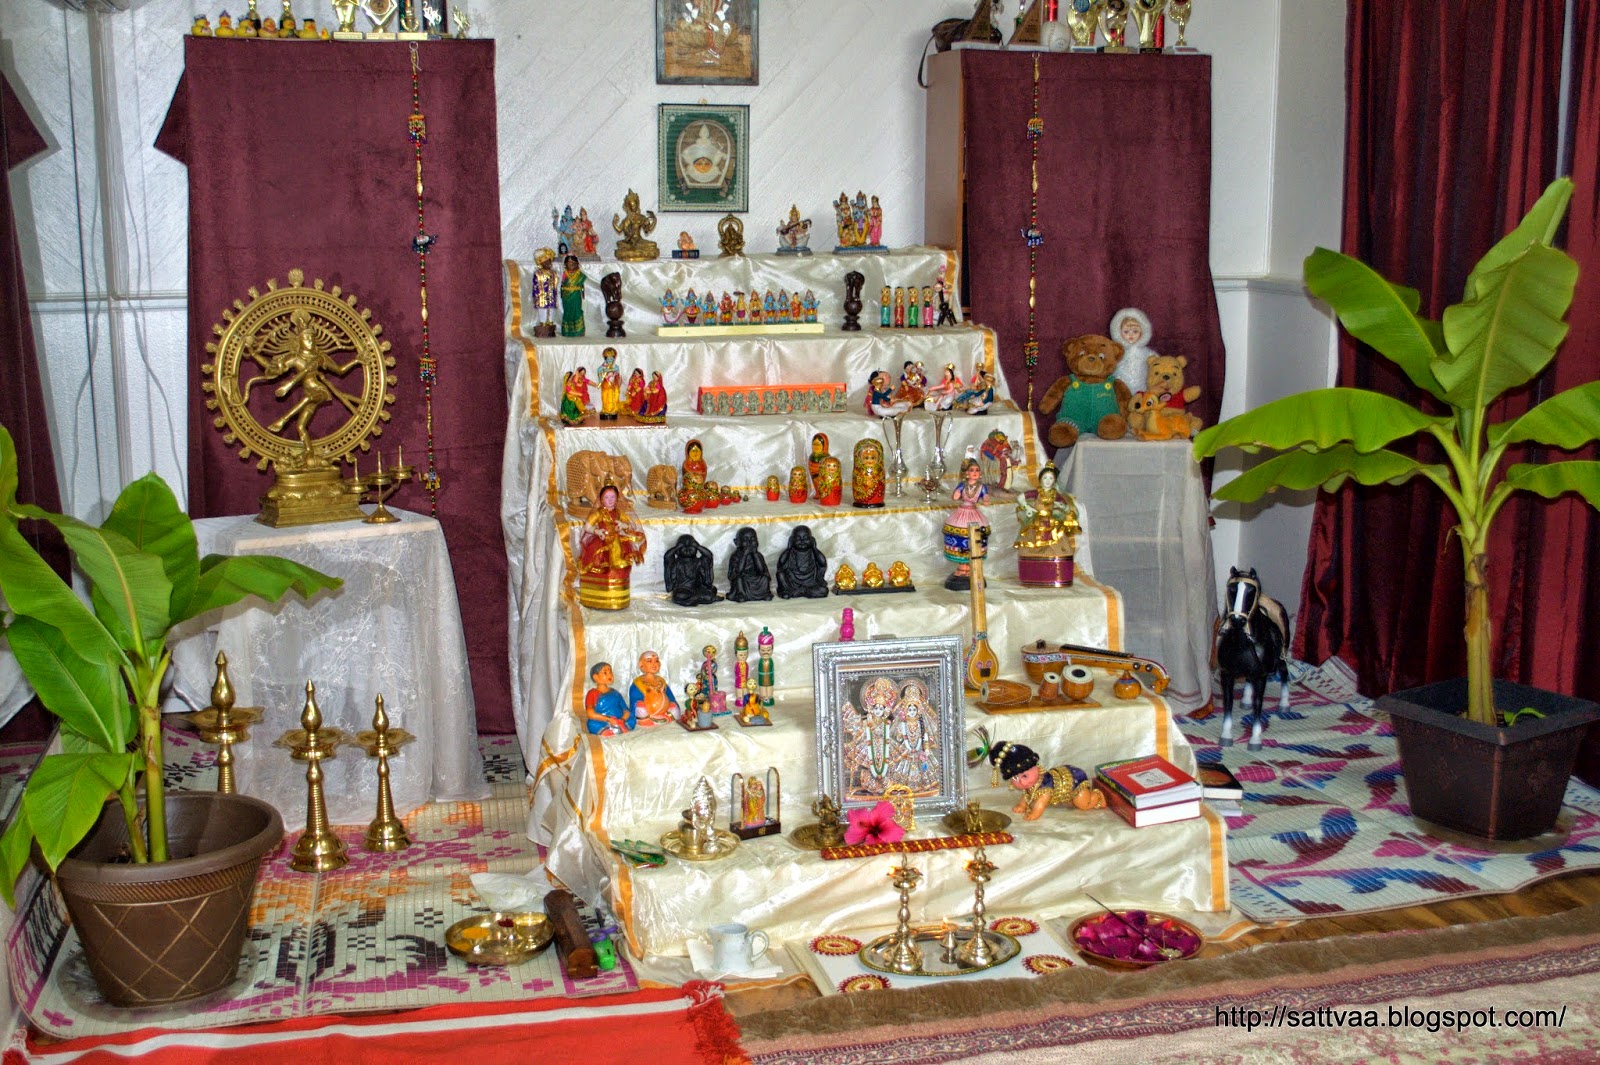
Shivaratri unlike most Indian festivals is less about food and more about going inward in an almost meditative mode. I grew up watching nammamma and anna fasting the entire day even if it was a working day and then have a little portion of food in the evening only once that day. Even in that subdued food scene, there were definitely some Shiva favorites that were always made on the day and one of them is this tambittu. This version is made with rice and jaggery.
On a side note, when I read about the now almost craze ketogenic diets I always think of the fasting where people went without food for days and simply called it 'giving the body a rest' :-). I don't do extended fasting anytime. So I came back home in the evening and made this tambittu for the festival. Pictures are all taken on a hungry stomach and in dim WA winter lights :-). They don't do justice to the delectable dish this is. I will update pictures next time I make tambittu (and remember to take good pictures), until then..
BH & I have developed this habit of popping something sweet in the mouth after meals especially during weekends. Tambittu made a perfect post meal dessert for over 2 weeks for us. There are several variations of tambittu, some people make it entirely with the fried gram without rice flour but this is the recipe I ate when I was little. Nammamma added a small quantity of roasted gram as it helps to bind.
NOTE: Roasted gram/hurikadle is not the same as split bengal gram/chana dal. The former needs no cooking, it is used as a snack and for giving volume in chutneys. The latter needs to be cooked before consuming.

Also this weekend, bidding adieu to a wonderful artist, an actress whose comic timing was par excellence, a heroine who didn't get enough opportunities to give her acting abilities the due they deserved, a mom & wife that met an untimely end. Rest in peace Sridevi Kapoor. 
Ye lamhe ye pal hum, barson yaad karenge,
ye mausam chale gae to hum fariyad karenge

What do you need to make tambittu? 
1 cup rice (any short grain rice, I used sona masoori)
2 Tbsp roasted gram (hurikadle - used to make chutney)
3/4 cup crushed jaggery
1/4 cup water
3-4 green cardamoms
1 Tsp khus-khus (poppy seeds)
1 Tsp white sesame seeds
1 Tbsp dry coconut (kobbari) - I used grated this time, you can chop it into small pieces if you like that texture
1 Tbsp ghee (clarified butter)

How do you make tambittu? 
  • Wash rice twice in running water, drain the water and spread it on a thin cloth and let it dry for a couple of hours (This is all done indoors, no drying in the sun)
  • When the rice is dry, roast it until lightly pink, and plump up slightly. Switch off and let cool.  
  • Once it is cool, take it to the blender jar along with cardamom, roasted gram and grind it into a fine powder. 
  • I sieve the powder with a fine sieve and return any coarse powder back to the jar for further grinding and repeat the sieving process until you have a fine powder of all of the rice. 
  • Soak jaggery in water for 15 mins so it softens and dissolves. 
  • Heat pan, roast poppy seeds, sesame seeds separately until they both turn fragrant. It takes 1.5-2 mins for the quantity here. Take them out onto a plate.
  • Roast grated coconut until it turns light pink and toasty, remove it to the plate. 
  • Add ghee and roast cashew nuts until they turn light pink, remove them onto the plate. 
  • Mix the ground powder with all the ingredients in the mixing bowl. 
  • Return the pan to the stove and pour in the soaked jaggery and bring it to a boil on medium heat. It takes about 4-6 mins and becomes thicker. 
  • Pour this on top of the dry mixture and bring everything together with a spoon. 
  • Wait for a few minutes until the mixture can be handled, pinch off golf ball sized mixture (or any size you prefer), make a ball and make a dip on the top. -> This shape is how nammamma made tambittu, not necessary you should stick to this shape :-). I have seen perfectly round tambittu also. It is your preference. 
  • Enjoy the sweet tambittu, stays fresh for about 2 weeks if refrigerated. 
Notes: 
  • Do not use sticky rice, basmati and parboiled rice in this recipe. 
  • For quick version, you can make this with ready made rice flour, make sure to roast it on low heat until it is fragrant.
  • You can use roasted, de-skinned peanuts in place of cashews. 
  • You can add cardamom powder instead of grinding them with rice but I prefer the fresh fragrances.
  • Tambittu is moist and soft when made but firms up after a rest time. 
  • Remove the jaggery syrup before any thread consistency is achieved, getting to a thread consistency makes tambittu hard & chewy. 
  • The syrup is enough to make a mixture that can be shaped into balls but if it is a little crumbly/dry (sometimes jaggery variety makes the difference and Indian cooking is not precise :-)), add a spoon of warm milk and bind. 

Sunday, October 22, 2017

Boondi - tiny little sweet and savory pearls, a perfect Deepavali treat

When I started blogging, I had this dream of making different themed sets of recipes for every Indian festival, international holidays etc so my readers could easily click on a page and find all relevant recipes for any particular occasion. I have seen many of my blogger friends do it and keep enhancing the lists every time they add a post. As for me, that dream is still far away, I know I have special dishes blogged in the space and tagged but maintaining that ever ready list and more importantly having it accessible before a major festival has remained a distant goal :-). Well, that gives me something to work for, doesn't it? Everything has a silver lining. Some day, you will come to my blog and search for Deepavali recipes (before the festival ofcourse :-)) and I will be able to present a list of recipes, but for now as I work on making that happen, the blog has plenty to offer albeit a little after the fact :-)

So, here is me wishing a very happy Deepavali to all of you. May the festival of lights stay in spirit with all of us long after the days of festivities end and help us spread the light of love around us.
I was out on a work related trip last week and came back towards the end of the week when the festivities were already in full blown mode and people were wishing everyone a happy Diwali even before I had a chance to clean my kitchen and get ready. Truth be told that I am not in the habit of preparing dishes in advance for the festival. I am more of the 'make & eat on the same day' kind of person but I still had to exercise those grey cells to come up with a late in the game plan for celebrating DeepavaLi.

Our DeepavaLi celebrations are a little different from the more public aware celebrations of the festival. DeepavaLi is still a 5 day affair in the south of India but has different names from its counterparts in north of India. The first day is called 'neeru tumbo habba' literally translates to filling the water tanks (old world equivalents of today's geysers) with fresh water. Hande water used to be heated with wood logs. This starts with a major cleaning initiative that reaches every dark nook & cranny in the house including the bath room, the 'hande' or water tanks are given a thorough wash and made to shine. There is fresh rangoli (mandala designs) on the hande and infront of it before lighting the fire to the logs and start heating the water. For us kids that is when the festival started and the school holidays began as well so we were free to roam around the neighborhood.
2nd day of the festivities is called Naraka Chaturdashi in honor of Lord Krishna killing the demon Narakasura and saving the 16000 princesses from captivity.  Other than eating a lot of good food, there wasn't much else to do on this day as we were told to save the fire crackers for the day after and not light them yet :-). Oh yes, there were new clothes to wear and go around flaunting them.

3rd day is the amavasye or new moon. There was no real festivities on this day unless you owned a business. If you were a business owner, there used to be a grand Lakshmi pooje and they would start their annual accounts afresh. Growing up in a very diverse community, we always used to get invited to the pooje by the merchant families in the neighborhood which meant more sweets to collect.

4th day is Bali Padyami, house would be decorated in preparation for the lighting of the lamps in the evening. Lots of flowers and huge rangolis in front of the house made the day so much brighter. I remember DeepavaLi always brought with it a slow & steady rain, not really big but just enough to create anxiety about the survival of the lamps and the firecrackers in the shower and wind. But somehow, every year the lamps survived and the firecrackers made huge sounds to everyone's glee.

5th day is celebrated as sodara bidige (similar to Bhai dooj in the north) but by this time we would lose interest as schools would have restarted and mechanically did what was told and headed off to school with a heavy heart :-). Oh, the drama of DeepavaLi.

Now, how do I condense all of the 5 day festivities into one quick evening? I pick the things & rituals that make the most sense to me and have a celebration. I don't even have a geyser, hot water comes automagically from the tap and I don't need to clean it. I don't do firecrackers (have not done it for years now) as I don't personally like the noise & air pollution they cause. Best part of DeepavaLi for me is the lighting of the lamps and we do that whole heartedly. This is how part of our home looked like on Friday..

When I returned and turned on my laptop to peek into the blogosphere, my fellow bloggers had not left a single stone unturned. The offerings spanned from traditional to modern, from handed down recipes to creative bests, from sweets to savories and everything one ever relates to DeepavaLi. Honestly, I felt a little left out not contributing to the rush of preparing for the festivities. I decided to make some quick treats for DeepavaLi and landed on boondi. If you do not know what these are, here is a quick catch up description. A batter of gram flour is passed through a ladle with holes to get small, round pearls. If you are making savory, the batter is dressed up with salt, chili powder, if you are making the sweet version, batter is plain and deep fried pearls are later soaked in a sugar syrup. Both are yummy, they can be eaten as snacks and the savory one also makes a perfect raita accompaniment for pulavs or paranthas when soaked in yogurt. We used some of the khara boondi to top our next day BBB and it tasted delicious :-)

Though it looks like a lot of work, boondi is one of the easiest recipes and the result is very impressive. You just want to follow a few tricks to get the best boondi. Read on for the process and the tips and bookmark it for next DeepavaLi :-). a little bit of these special treats, a plate of homely food and lots of lamps together made the DeepavaLi a memorable celebration. 

Now that the festival fever has come down, I have a question that has been bothering me for over a week. Is it possible to be literally fatigued just looking at the vast collection of delicious Deepavali sweets & savories in the blogosphere? I think it is possible, I am actually tired and need a break from all ghee laden, sugar coated Deepavali treats for a while and need to get back to simple living and comfort eating :-), so don't be surprised if I went directly back to blogging about every day food in my next post, until then have a great time, enjoy the left overs.

What do you need to make sweet & savory boondi? 
For khara boondi: 
1 cup besan/gram flour/kadle hittu
1/4 cup rice flour
1 and 1/4 cup water
1 Tsp salt
1 Tsp red chili powder
1/4 Tsp turmeric powder
1/8 Tsp asafoetida
1/4 cup peanuts
1/4 cup fried gram/hurigadle
2 Tbsp grated kobbari/dry coconut (optional, may skip if unavailable)
10-12 curry leaves

For Sweet boondi: 
1 cup besan/gram flour/kadle hittu
1/4 cup rice flour
1 and 1/4 cup water
pinch of salt
For sweet boondi syrup: 
1 cup water
2 cups sugar
1/4 Tsp pacha karpoora/edible camphor
4-5 saffron strands
2 Tbsp raisins
2-4 cloves

3-4 cups of Oil to deep fry both varieties of boondi (I normally use peanut oil)

Utensils: 
Heavy bottom, wide kadai or pan to fry boondi in
1 ladle with small holes (I use a steel one for draining oil when deep frying)
1 ladle to lift fried boondi from oil


How do you make sweet boondi? 
  • In a sauce pan, take water & sugar and let it come to a boil. 
  • Keep stirring until the syrup gets to a single thread consistency. 
  • Let the syrup thicken further for another 10mins on medium heat. 
  • Add cloves, edible camphor and saffron to the syrup. 
  • Add raisins to the syrup (I don't fry them but letting them soak in the hot syrup plumps them up), switch off keep it warm.
  • Make a batter of sieved besan, rice flour and water. Whisk the batter with a hand whisk to make it light.
  • Heat oil in a pan and drop a small amount of batter to check if the oil is hot enough, if the batter comes to the surface immediately, you are ready to start frying. 

  • Hold the ladle with the holes in your left hand directly above the oil(I am a right hander, switch the sides if you are a left hander), using a spoon put the batter on the ladle and let the batter drop into water. 
  • Using the other ladle, give a swish to the boondi in the oil so it gets cooked uniformly on all sides. 
  • Remove them with a slotted spoon when it the bubbles int he oil slow down. Sweet boondi doesn't have to become very crisp unlike the savory version. Place them in a plate lined with a tissue or paper napkin. 
  • Clean the ladle with the holes completely before reusing. 
  • Repeat the process until all the batter is used up.
  • Once the frying is complete, put all the fried boondi into the hot syrup and mix well. 
  • Take them onto a wide plate and spread. 
  • Let it cool and as it cools it becomes dry absorbing any extra syrup in the process. 
  • Store in a dry, clean container. 
How do you make Khara boondi? 

  • Sieve besan to remove any lumps, add rice flour, salt, red chili powder, asafoetida & turmeric powder. Mix well. 
  • Add water slowly to make a lump free batter of dropping consistency. See notes below to adjust consistency. 
  • Taste a tiny drop of the batter and adjust salt or spices as needed. Whisk the batter with a hand whisk to make it light.
  • Heat oil in a pan and drop a small amount of batter to check if the oil is hot enough, if the batter comes to the surface immediately, you are ready to start frying
  • Hold the ladle with the holes in your left hand directly above the oil(I am a right hander, switch the sides if you are a left hander), using a spoon put the batter on the ladle and let the batter drop into water. 
  • Using the other ladle, give a swish to the boondi in the oil so it gets cooked uniformly on all sides. 
  • Remove them with a slotted spoon when it has attained a golden color all over and the bubbling stops in the oil. Place them in a plate lined with a tissue or paper napkin. 
  • Clean the ladle with the holes completely before reusing. 
  • Repeat the process until all the batter is used up. 
  • Add peanuts to the oil and fry until they are crisp
  • Add fried gram to the oil for 30secs to crisp them up and remove
  • Add curry leaves and fry them until crisp. 
  • Mix boondi with peanuts, fried gram, grated kobbari and curry leaves. when cool, store it in a air tight container.

Notes:
  • Adding rice flour makes boondi crisp, you can reduce the amount to a Tbsp for the sweet boondi version to get juicier boondi. 
  • You can leave khara boondi without any peanuts or other embellishments if you like but adding them enhances the taste. 
  • I recommend you try the batter out with a small spoonful to check the consistency, your oil temperature etc. 
  • Consistency of the batter is critical for getting perfectly round boondi. If your droplets have a small tail attached to them, thin the batter with a few drops of water, if the boondis look flat when they fall in the oil, add a little bit of besan to thicken the batter. Trial & error helps you get the look & feel. 
  • Make sure you hold the ladle with the holes at about 6 inches from the surface of oil. This distance helps the batter form perfect round boondi as it falls into the oil. 


Wednesday, October 22, 2014

Sajjappa - a traditional dessert from my home town to celebrate the festival of lights

Happy Deepavali to all my readers who are celebrating the festival of lights. If you are not into celebrations, you can still enjoy this traditional sweet from Karnataka. This is very popular in Mysore/Bengaluru region and I haven't seen or heard about it from other regions in India.

How do I begin to explain Sajjappa to someone if you haven't heard/seen/tasted this deliriously delicious sweet :-). If you are familiar with Obbattu/holige made with coconut filling, I could compare sajjappa to that in terms of ingredients. If you knew what a kachori is, I would say Sajjappa is a kachori with sweet filling (close enough but lot of differences). If you had tasted kobbari mithai, I could say sajjappa tastes like a distant cousin of it with added crunch. But if you were not familiar with any of these typical Indian dishes, I would simply say, "this is a sweet to fight for, a sweet to be enjoyed in leisure, a sweet that fills your cravings for all sweets and leaves no gaps :-)." Sounds convincing? You should try these atleast once.
When Nammamma made these as part of festivals or celebration menu, I have literally fought with my little brother for my fair share and secured it. This is one sweet from childhood that I continue to relish even after all these years. Sadly it is slowly fading away from most homes and a couple of times I tried the store bought ones on my India trip, they came no where close to the satisfaction bar. I had given up on these until I decided to try at home a couple of years back. After a couple of failures, disasters, heart breaks, phone calls etc and an unshakable perseverance, I have finally gained the skill level to make these without as much as batting an eyelid :-)

There are a lot of notes/tips in this post, guess how/why I am so knowledgeable? Been there, done that and salvaged more than once. So read through the entire post and once you are armed with the wisdom, go ahead and try out this slowly fading away dessert that deserves to be handed down generations to come. Since my generation seems to be philosophically bought in to the idea of 'less oil', I went ahead and tried baking sajjappas. 400F, lay the sajjappa on a parchment paper in a cookie sheet, bake 8 minutes on one side, turn and bake for another 4 minutes. Delicious, crispy outer cover yet moist filling, these were in no way inferior to the deep fried ones. In the spirit of Deepavali, I deep fried most while baked a couple of batches but next time onwards, I might just stick to the baked version.
Some potential mishaps and how to recover from them: 
  • Keep that smile intact on your face and march towards the final goal no matter how bad the situation seems to be :-), this applies while making sajjappa or any other time in life too. I am in a free advice giving mood & mode today. Rest of the points below are totally practical and meant to help you get out of sticky situations, so go ahead and read them. 
  • If you used more water while making the filling, just keep it on medium heat until it evaporates and becomes a soft mass. When you take a spoon of the hurana and give it a shape, it should hold and not collapse. There is no syrup consistency for this dessert.
  • On the other hand, if the filling becomes too hard after it cools down, take it in a wide plate or on your counter top, add few drops of water and start kneading to make it soft. Hard consistency of the filling will make it poke out of the cover while pressing it and causes sajjappa to burst open in the oil, not a pretty sight :-)
  • Trick to a great sajjappa is in the right balance of the filling and cover, the cover should be thick but not too thick so it remains crispy. Very thin covering will expose the filling while frying them. 
  • If you removed the filling a tad early and it is still very sticky, get it back in the pan and continue heating for a few more minutes and test if the ball sits holding its shape and when you touch it with water smeared fingers, it doesn't stick to your fingers. 
  • I really loved everything about the baked sajjappa, the fact that it is so much lower in calories compared to the other version is a HUGE BONUS. Give it a try. 

What do you need to make Sajjappa? 
Below quantities make about 25-30 sajjappas depending on the size
Hoorana or filling:
2.5 cups coconut
2 cups grated jaggery
1/2 cup chiroti rava/sooji (finer than upma rava)
4 green cardamom
2 cloves
1 Tsp gasagase/poppy seeds
2 Tbsp water
Optional:
ghee roasted raisins and cashews - chopped into tiny pieces
Kanaka or outer covering:
1.5 cups chiroti rava/sooji
3/4 cup AP flour (maida)
1/8 Tsp salt
1 Tbsp oil
3/4 cup water
Others:
Oil to deep fry
How do you make Sajjappa? 
Making Hoorana or Filling: 
  • Grate or powder jaggery. 
  • Bring coconut to room temperature if using frozen. 
  • Powder cardamom & cloves. 
  • Heat a thick bottom pan on medium heat. 
  • Add 2 Tbsp water and powdered jaggery. 
  • Mix until jaggery dissolves completely. 
  • Add all the rest of the ingredients listed under 'hoorana' and give a good mix. 
  • Let it cook for a few minutes until water evaporates and you see a soft mass in the pan. 
  • Wet your palms, take a spoonful of the filling, roll it between palms and drop it into a plate. The ball should hold its shape though squishy and will not stick to the wet hands. 
  • At this stage, switch off and let cool. 
  • You can use it to make sajjappa once cool or refrigerate it for later use. 
Making outer cover: 
  • Take all ingredients listed except for water & oil in a bowl and mix them well. 
  • Add water slowly and bring everything together. 
  • Depending on the quality of flours, you may need a little less or more quantity of water. The dough needs to be soft. 

  • Once the dough comes together, knead it for atleast 10 minutes. 
  • You will feel the coarse texture of rava turning smooth and soft as you need and the dough reaches an elastic consistency. 
  • Pour 1 Tbsp oil on top of the dough, gently pat it into the dough, cover and let it rest atleast 2-3 hours or overnight. 
Making sajjappas:
  • Heat oil for deep fry in a deep and wide pan.
  • Knead the dough once more and divide into 25 equal portions. 
  • Bring the filling to room temperature if refrigerated and divide into 25 equal portions. 
  • Put a drop of oil on your palm, place the dough and press it to make a flat disk. 
  • Put the filling portion in the center of the disk and pull all the edges gently to cover the filling. 
  • Put the seam side down on a lightly oiled aluminium foil/banana leaf/plastic sheet and press gently into a circle of about 1mm thickness. 
  • Ease this gently into the hot oil, flip a couple of times to get it golden brown in color all around. 
  • Take it out onto a paper towel lined plate and let cool a little before digging in. 
  • Baked version: Preheat oven to 400F, spread a parchment paper in a cookie sheet, arrange the flattened sajjappas leaving a little space between each other. Bake for 8 mins on one side, flip and bake for 4 mins on the other side. The baking times may need to be watched and adjusted based on your oven.
Notes:
  • Nammamma makes it with only coconut & jaggery, since all she has to do is break as many coconuts as needed and grate them:-). I use store bought frozen coconut and was on my last packet so followed what my friend's amma used to do and added rava to make up for the deficiency of coconut.
  • I was 1/2 cup short of jaggery and instead of making a trip to the store, used Turbinado sugar I had in the pantry, didn't make any difference in color, texture or sweetness. 
  • Proportion of chiroti Rava to maida is 1:1/2, this yields a crispy outer covering.
  • While deep frying, keep the heat on medium and fry until both sides turn light golden brown. 
  • Adjust quantity of jaggery based on your sweet preference and also the quality of the variety you use. 
  • Let the dough soak for atleast 2 hours, kneading it is important. Rough texture of rava turns smooth and soft as you add water and knead. 
  • Overnight resting is great too if you want to make ahead, keep it outside on the countertop where it is cool.
  • You can refrigerate the hoorana if you make it ahead but bring it to room temperature before making sajjappas.

Wednesday, October 1, 2014

Sabudana Vada - a completely sold out affair at Navaratri Bommala koluvu

Happy Navaratri to all my celebrating readers. May this festival season bring you lots of joy and contentment.
Navaratri started last week and since there was only one weekend I could get before Vijaya Dashami, we went ahead, set up our bommala koluvu and invited friends over last Saturday. As always, it was lot of fun, music and food. Over the last 3 years since we have been here, I have made a lot of young friends through my Balavihar classes and they have become family. Some kids move onto the other classes but they come and visit our Navaratri koluvu and they all have come to realize that there is no escape from singing at my place :-). New kids start off a little shy and try to squirm out by making excuses but they give up as they see others singing. After all, Navaratri has to be celebrated the right way with joy, music and dance, don't you all agree?
Now, Navaratri though is celebrated all over India, the practices are different as you move from place to place. In some states, Navaratri is celebrated with a lot of Vrat (festival) related restrictions on food. People do not eat onions, garlic among many other things. While these festival celebrations may seem restrictive to many, this is how nammamma made food most days of the year even when it was not a festival day. I on the other hand am a total onion fan, I like them in all forms, so it takes me a little rethinking during festivals. It is always a success when a visiting parent or an elderly person asks about onion in the menu and I can confidently say that all dishes on the table fit the 'no onion' criteria:-)

In an effort to make a 'no rice' dish, I made my millet pongal which was a hit but these sabudana vadas took home all the glory and crown. Sabudana vadas are considered vrat dishes in Maharashtra and Gujarat though I am not an expert on the subject. Everybody seemed to like it going by the empty bowl we had at the end of dinner. Since Saturday, I have had atleast 4 requests for the recipe, so here it is.
These vadas are known for retaining more oil than the regular vadas, adding the flour helps reduce this a little bit and make sure you put the fried vadas on to a plate lined with paper towels for the extra oil to drain out. I made them again today as a few of the friends came by this evening. As I was planning the menu, DD said that I needed to make these vadas again and her excuse was, "amma if you don't make them, the people that come today will miss the most delicious snack in this whole wide world" :-). After such blatant flattery, I can't say 'no', so ended up making another batch of sabudana vadas. I tried shallow frying a batch of them, turned out very tasty though the texture is very different from the deep fried stuff. Look at the end of the post for 'how to'.

These taste yummy either hot or cold, the crunchiness of the outer layer stays put because of the sabudana even after they become cold making it a perfect snack for parties.
Here are some previous Navaratri posts and posts if you are in a mood to read - a must have Usili/sundal and a no recipe read about Mysore Dasara.

What do you need to make Sabudana Vada? 
3/4 cup sabudana (will become 1 cup once it soaks)
2-3 medium sized potatoes (see 'how to' below for details)
1-1.5 Tbsp rajgira or Bajra flour
1 Tsp salt (adjust to taste)
3-4 green chilies
1 Tbsp grated ginger
2 Tbsp coarsely crushed peanuts (increase if you like more crunch)
1/4 cup chopped cilantro
1 Tbsp lemon/lime juice
1 Tbsp chopped fresh coconut (Mysore Twisht :-), optional)
oil to deep fry
How do you make Sabudana Vada? 
  • Wash Sabudana in running water twice and soak it in water for 6-8 hours or overnight until they plump up and become soft to touch. 
  • Drain the water through a colander and let the sabudana stand for 30 minutes or so until all the water is gone. 
  • Boil potatoes until soft, peel and grate them - you can mash them but it is better to grate as it gives a smoother texture. 
  • Toast peanuts on stove top or microwave, let cool a little, pound them in a mortar & pestle or blender to coarse powder. You want small bites of peanuts, make sure you do not make them too small or powdery. 
  • Crush the green chilies into a paste. 
  • In a wide bowl, mix all ingredients except for oil until they come together. Depending on the water content, you might need a little bit more or less flour. Do not add too much flour as it changes the taste. 
  • Taste and adjust salt, green chilies as needed. 
  • Heat oil in a deep pan until a small piece of dough dropped in comes up immediately. 
  • In the meantime, break lime sized dough, make a ball and flatten into a patty. 
  • Drop the prepared patties in to the hot oil and let them cook for minute before flipping them over. 
  • Fry until both sides turn light golden in color. 
  • Take them out onto a plate lined with paper towels, enjoy with a chutney or sauce. 
Notes: 
  • Potatoes when grated should make 2 cups, choose the number based on the size of potatoes. Too much of potatoes make them oily & soggy. 
  • Remove outer skin of peanuts before pounding them into bits. I like the mortar & pestle since the skin tends to come out easily which you can separate and continue to pound. Else, put the toasted nuts in a ziplock bag and give it a couple brisk rubs for the skin to fall out. 
  • If you can't find Rajgira or Bajra flour, go ahead and add rice flour. The idea is to absorb the moisture in the dough as much as possible. 
  • Ginger plays the key role in enhancing the taste & flavor of this vada, do not skimp on it. 
  • More cilantro makes the vadas happy :-)
  • As both potatoes & sabudana are bland in taste, green chilies are your only ingredient of spice, adjust according to taste. 
Low Calorie alternate: 
  • If you are on a diet or wanting to avoid deep fried stuff, go ahead and shallow fry the patties on a tava. 
  • Use a cast iron pan preferably and add a generous spoon of oil to the bottom before placing the patties. 
  • Let the patties turn golden brown on both sides, cooking it on medium high. 
  • These will not be crunchy like the deep fried ones but you can sleep peacefully (eating a couple more) knowing that the chances of all that fat settling down in the middle of the body is addressed :-)